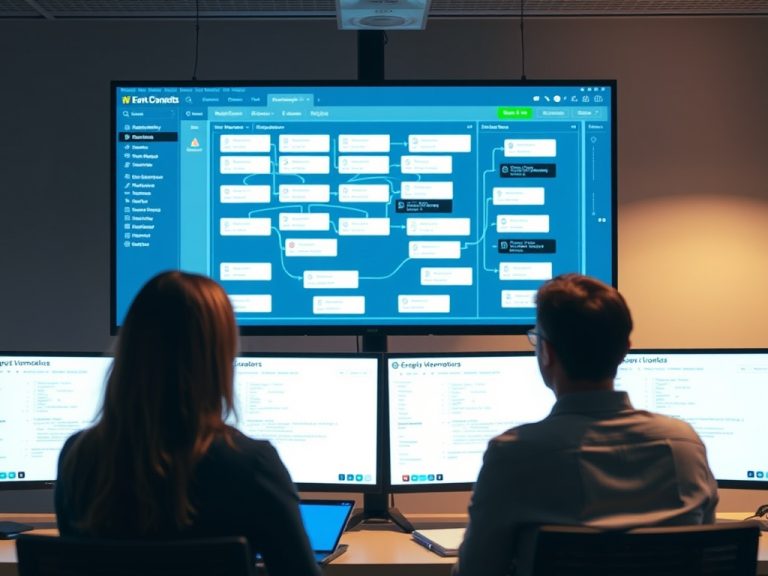
Before connecting payments and CRM, an event team should review the ticketing platform’s fees, data fields, integrations, security responsibilities, refund logic, access rules, and reporting outputs. The goal is to catch operational risks before real buyers and real payment data enter the system.
TL;DR
- Confirm ticket types, fees, taxes, refunds, data fields, and permissions before launch.
- Map every CRM field before syncing to avoid duplicate or unusable attendee records.
- Review payment security, consumer-facing price clarity, and approval owners with the right specialists.
The pre-connection review that saves rework
A ticketing platform can look ready because the event page is attractive and tickets can be created. That is not enough. Once payments and CRM syncs are connected, errors can become expensive. Duplicate records, wrong fees, missing consent fields, broken discount codes, unclear refund language, and weak permissions can affect buyers, staff, sponsors, and reporting.
Treat this checklist as a practical review, not a vendor score. The right platform depends on event size, ticket complexity, region, attendee data needs, reporting expectations, and internal expertise.
Ticket and checkout checks
Review ticket names, descriptions, inventory limits, access rules, date windows, promo codes, waitlist behavior, fee treatment, tax settings, and refund language. Check the buyer journey on desktop and mobile. Confirm that the confirmation email, calendar attachment, QR code, and receipt language match the actual event offer.
If the platform charges fees on paid tickets, confirm who pays those fees and how they appear to buyers. Eventbrite pricing plans show one example of platform fee language, but each provider and region can differ. In consumer-facing contexts, price transparency should be reviewed with current rules and guidance, including Federal Trade Commission consumer resources in the United States.
CRM and data mapping checks
Before syncing, create a field map. For each field, list the platform field, CRM field, field type, required status, consent basis, owner, and reporting use. Avoid free-text fields when a dropdown will support cleaner segmentation. Decide how the CRM should handle guests, group registrations, refunds, transfers, no-shows, and duplicate email addresses.
Data should serve the event, not overload it. If a field will not support check-in, communication, accessibility, compliance, segmentation, sponsor reporting, or post-event analysis, question whether it belongs in the registration form. This is especially relevant when building workflows from the event automation FAQ.
Payment and security questions
Payment security is not a casual setting. Confirm which party processes card data, what payment gateway is used, how refunds are handled, who can access financial reports, and what records are exported. The PCI Security Standards Council develops and manages standards for payment data security, making it a strong starting point for teams that need to understand responsibilities.

Red flags before launch
Pause before launch if the platform cannot clearly show total buyer cost, if discount codes stack unexpectedly, if CRM records duplicate during testing, if refunds are unclear, if role permissions are too broad, or if staff cannot explain what each ticket includes. Also pause if the launch calendar is pushing traffic before the checkout flow is tested. The event launch calendar should follow platform readiness, not pressure it.
A safer go-live handoff
Before opening sales, run a small internal purchase test, refund test, transfer test, CRM sync test, check-in scan, report export, and confirmation email review. Then document who monitors support inboxes, payment exceptions, access questions, and staff escalations. Clear roles help prevent the staffing mistakes that cause confusion that often appear during launch week. Events content is informational only and does not replace legal, financial, tax, payment security, or contractual advice.
Approval Evidence to Save Before Launch
Before go-live, save screenshots or exports that show approved ticket types, prices, fees, refund settings, tax settings where applicable, confirmation emails, form fields, consent language, CRM mapping, permissions, and test transactions. These records help the team resolve disputes and understand what was live at the time of launch.
Create a launch log with dates, reviewers, and unresolved items. If a field is intentionally left optional or a report is intentionally excluded, note the reason. This is useful when leadership later asks why a certain metric is missing or why a buyer received a specific message.
The review should include support readiness. Decide who answers buyer questions, who handles failed payments, who reviews refund exceptions, and who can pause sales if a serious issue appears. A clean platform setup still needs human coverage once the public is involved.
Post-launch monitoring after the first sales
The checklist does not end when registration opens. Review the first purchases, confirmation emails, CRM records, support questions, refund attempts, and report exports during the first day of activity. Early buyer behavior often exposes small issues that testing missed. Correcting them quickly can prevent hundreds of records from being created with the same flaw.
Keep one person responsible for monitoring dashboard changes and another responsible for attendee-facing communication. This separation helps the team fix technical issues without sending rushed or inaccurate public updates.
Data cleanup before reporting begins
Clean reporting depends on setup discipline. Decide how to label test orders, internal registrations, complimentary tickets, transferred tickets, refunded tickets, and no-shows. If those records are not labeled properly, attendance and revenue reports can mislead sponsors and leadership. A few naming rules before launch can save hours of cleanup after the event.
Permission levels and staff access
Permissions should match job responsibilities. A volunteer may need check-in access but not refund access. A marketing coordinator may need report views but not payment settings. A finance lead may need transaction reports but not page design control. Limiting access reduces accidental changes and gives the team a cleaner audit trail if something goes wrong.
Small test group before public traffic
Use a small internal test group before public traffic arrives. Ask testers to register with different ticket types, promo codes, devices, and email addresses. Have them report confusion in their own words. Their feedback often reveals unclear labels, hidden fee questions, mobile layout problems, or confirmation details that the core team stopped noticing.