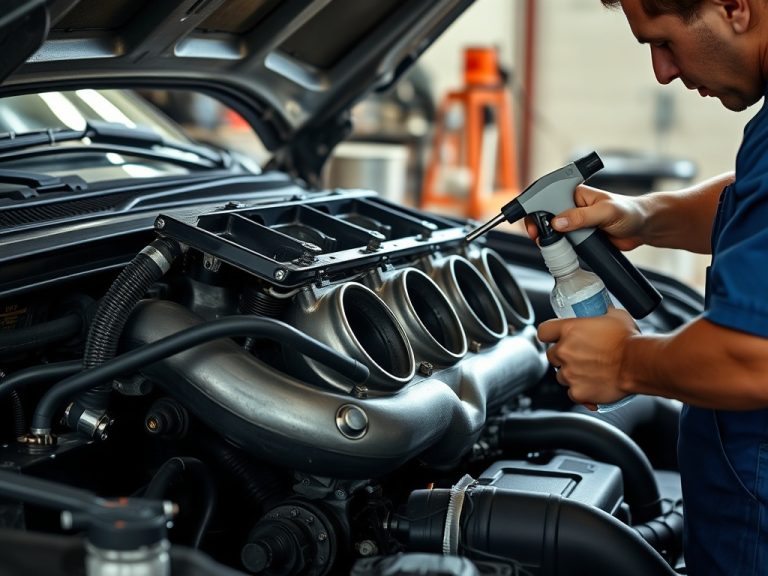
Direct answer: headlight lens oxidation comes back when the cloudy outer plastic is polished without restoring durable UV protection. Sanding or buffing can make the lens look better for a few weeks, but bare polycarbonate will haze again when sun, road film, and heat keep attacking the exposed surface.
TL;DR: Headlight lenses are usually polycarbonate, not glass. The material is tough, but the factory coating is what protects it from ultraviolet exposure, cleaners, heat cycles, and tiny impacts from road grit. Once that coating breaks down, the surface turns yellow, dull, or chalky. A proper repair is less about making the lens shiny for one afternoon and more about removing failed material evenly, protecting the surface again, and confirming the light pattern is safe.
- A good inspection starts with the basics. The shop should look at both lenses, compare the severity side to side, check for moisture inside the housing, inspect for cracks, and verify that the headlight bulbs and aim are not the real reason visibility feels poor. Oxidation on the outside can be restored in many cases. Water droplets, broken tabs, burnt reflectors, or internal hazing usually point to a bigger housing problem.
Why Cloudy Headlights Return
A good inspection starts with the basics. The shop should look at both lenses, compare the severity side to side, check for moisture inside the housing, inspect for cracks, and verify that the headlight bulbs and aim are not the real reason visibility feels poor. Oxidation on the outside can be restored in many cases. Water droplets, broken tabs, burnt reflectors, or internal hazing usually point to a bigger housing problem.
Temporary shortcuts are easy to spot. Toothpaste, household polish, harsh solvent wipes, or a quick machine buff may brighten the lens, but they do not rebuild the protective layer. Some wipe-on kits work better than others, yet the result depends on surface preparation, curing time, weather, and how evenly the coating bonds. When a lens looks clear immediately after polishing but feels raw, grabby, or uneven, the comeback is already being written.
Proper restoration normally follows a controlled sequence: clean, mask nearby paint, wet-sand through measured abrasive steps, polish the surface, remove residue, and apply a UV-resistant clear coat or coating made for exterior lenses. The technician should avoid digging deep grooves into the plastic or overheating one spot with a buffer. Those mistakes can leave swirl marks, distorted beam spread, or a lens that yellows faster than before.
Because software and lighting faults can overlap on newer vehicles, it helps to understand software updates in the service bay before assuming every lighting issue is cosmetic.
For safety-related lighting problems or manufacturer campaigns, use the NHTSA recall lookup with the vehicle identification number before paying for major parts.
Restoration Choices and Warning Signs
| Approach | What it can do | Main limitation |
|---|---|---|
| Quick polish | Improves appearance briefly | Leaves lens exposed if no UV coating is added |
| DIY kit | Can work on light oxidation | Results depend on prep, coating, and curing conditions |
| Professional restoration | More controlled sanding, polishing, and sealing | Not ideal for cracked, leaking, or internally damaged housings |
| Assembly replacement | Solves severe housing damage | Often the highest-cost option on modern lighting systems |
Urgency depends on visibility. Cloudy headlights are not just cosmetic when nighttime reach is reduced, the beam is scattered, or oncoming drivers flash because the light pattern is distorted. If the lens is cracked, water is pooling inside, or one lamp is much dimmer than the other, the issue should be checked before more night driving. A recall check is also sensible when lighting behavior seems electrical rather than surface-related.
Cost drivers include lens size, access, coating choice, labor time, and whether the assembly must be removed from the vehicle. Replacement costs rise quickly when the housing includes LEDs, adaptive lighting, cameras, or integrated modules. Restoration can be a smart middle path when the plastic is externally oxidized but the housing is dry, structurally sound, and optically intact.
Ask the shop what product will provide UV protection after polishing. A clear lens with no durable coating is like fresh paint with no protection; it may look right at pickup and fail quickly under real sunlight. The answer should name the general coating type and include basic cure instructions.
Also ask whether the repair changes headlight aim. Most lens restoration should not require aim adjustment, but cracked mounts, housing removal, or previous collision damage can alter the beam. If night visibility is still poor after clear lenses, bulb condition, reflectors, projectors, and aim should be checked.
Avoid judging the repair only in the parking lot. Look at the lens from several angles in daylight, then check the beam on a dark, flat surface. Uneven haze, deep sanding arcs, or a beam that scatters badly means the cosmetic result and the functional result are not aligned.
A useful headlight estimate should also separate appearance from output. The lens may look clear while the bulb is weak, the reflector is degraded, or the aim is off. Ask the shop what result it is promising: cosmetic clarity, improved nighttime visibility, or both. That difference keeps expectations honest.
Weather can change the outcome too. Coatings applied in high humidity, dust, or direct sun may not cure as intended. If the vehicle lives outside, ask how soon it can be washed and whether waxes, sealants, or ceramic products are safe for the repaired plastic.
One owner-friendly way to judge the repair is to ask what would make restoration a poor choice. A trustworthy answer might mention internal haze, broken mounting tabs, damaged reflectors, or water intrusion. Shops that can explain when not to sell a service are usually easier to trust.
Keep expectations practical after any lens work. Parked outdoor vehicles in intense sun need more care than garaged vehicles, and older plastic may never look factory-new. The real win is a stable, protected surface and safer nighttime visibility.
When the estimate includes coating promises, documentation matters as much as shine; the same careful reading used for prepaid maintenance plan fine print can help you avoid vague repair language.
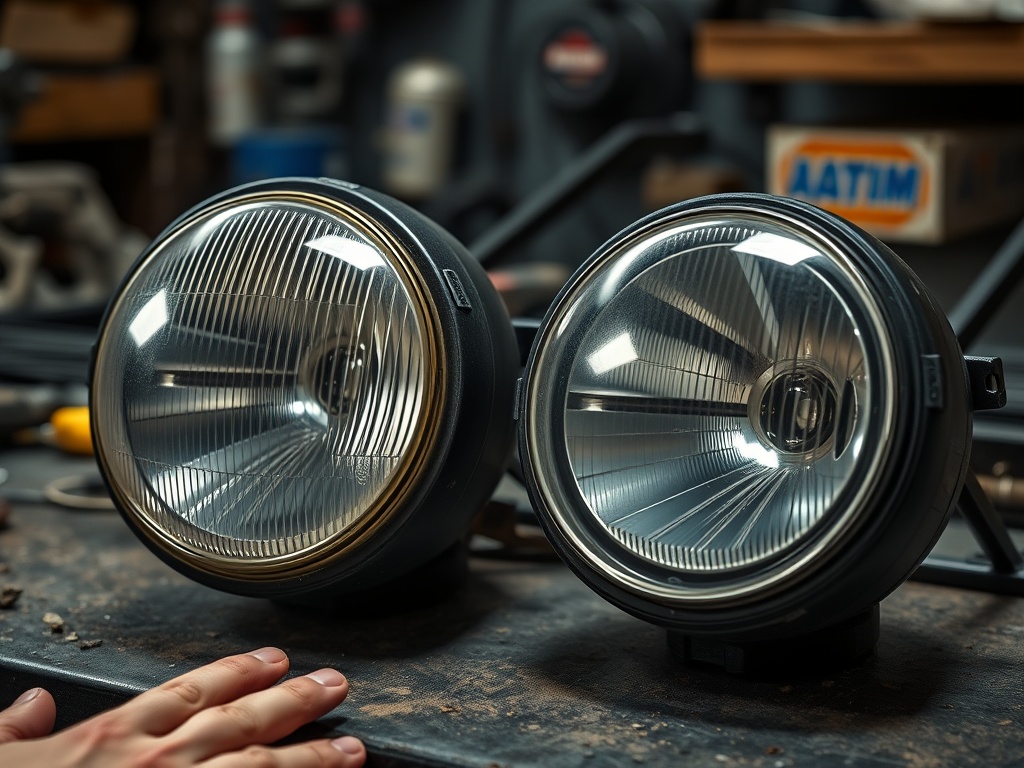
Keeping the Lens Clear After Service
After service, monitor the lenses in bright sun and at night. A good repair should look evenly clear, with no milky patches, sanding scratches, sticky coating, or heavy orange-peel texture. Avoid automatic washes with harsh chemicals for the coating cure period, and use mild car-wash soap instead of household cleaners. If haze returns in one season, ask what UV protection was applied and whether the repair carried any written workmanship coverage.
The fairest expectation is improvement, not magic. A lens with deep internal damage may never look new again. A well-executed restoration, however, can delay replacement and recover enough clarity to make night driving more comfortable. The next smart move is to compare the symptom with the repair method, then choose restoration only when the cause is truly external oxidation.
How long should restored headlights stay clear?
There is no universal period because sun exposure, coating quality, prep work, climate, and washing habits vary. A result that clouds within weeks usually suggests poor surface protection or a lens problem beyond ordinary exterior oxidation.
Is replacement better than restoration?
Replacement is better when the housing is cracked, leaking, internally burned, or structurally damaged. Restoration is more sensible when the surface coating failed but the lamp assembly remains dry and sound.
Can I use household products?
Household products may brighten plastic briefly, but they usually do not provide durable UV protection. Use purpose-made products or professional service when night visibility is affected.
Practical next step: Match the symptom to evidence, keep service records, and approve the repair path only after the shop explains what was tested, what was found, and what result should be verified afterward.